For Mrs. Iwata's gift, I chose to make an applique pillow. I used my favourite applique method, in which a papercut freezer paper pattern is ironed on to the top of the applique fabric and pinned into place on the background fabric.

The book that I took down off the shelf was "Papercuts and Plenty" by Elly Sienkiewicz which has a wealth of patterns to choose from.

Taking a large square of freezer paper, fold carefully into quarters, taking care to match edges and making a crisp fold (remember your origami skills?) Then fold into eighths...

Many people then label the centre and edge of the folded paper, to aid in the tracing and cutting. If you orient the paper wrongly, the papercut will fall apart, as we have all experienced!

Refold the paper, the drawn pattern should be outermost. Staple the shapes so that the paper does not shift during the cutting.

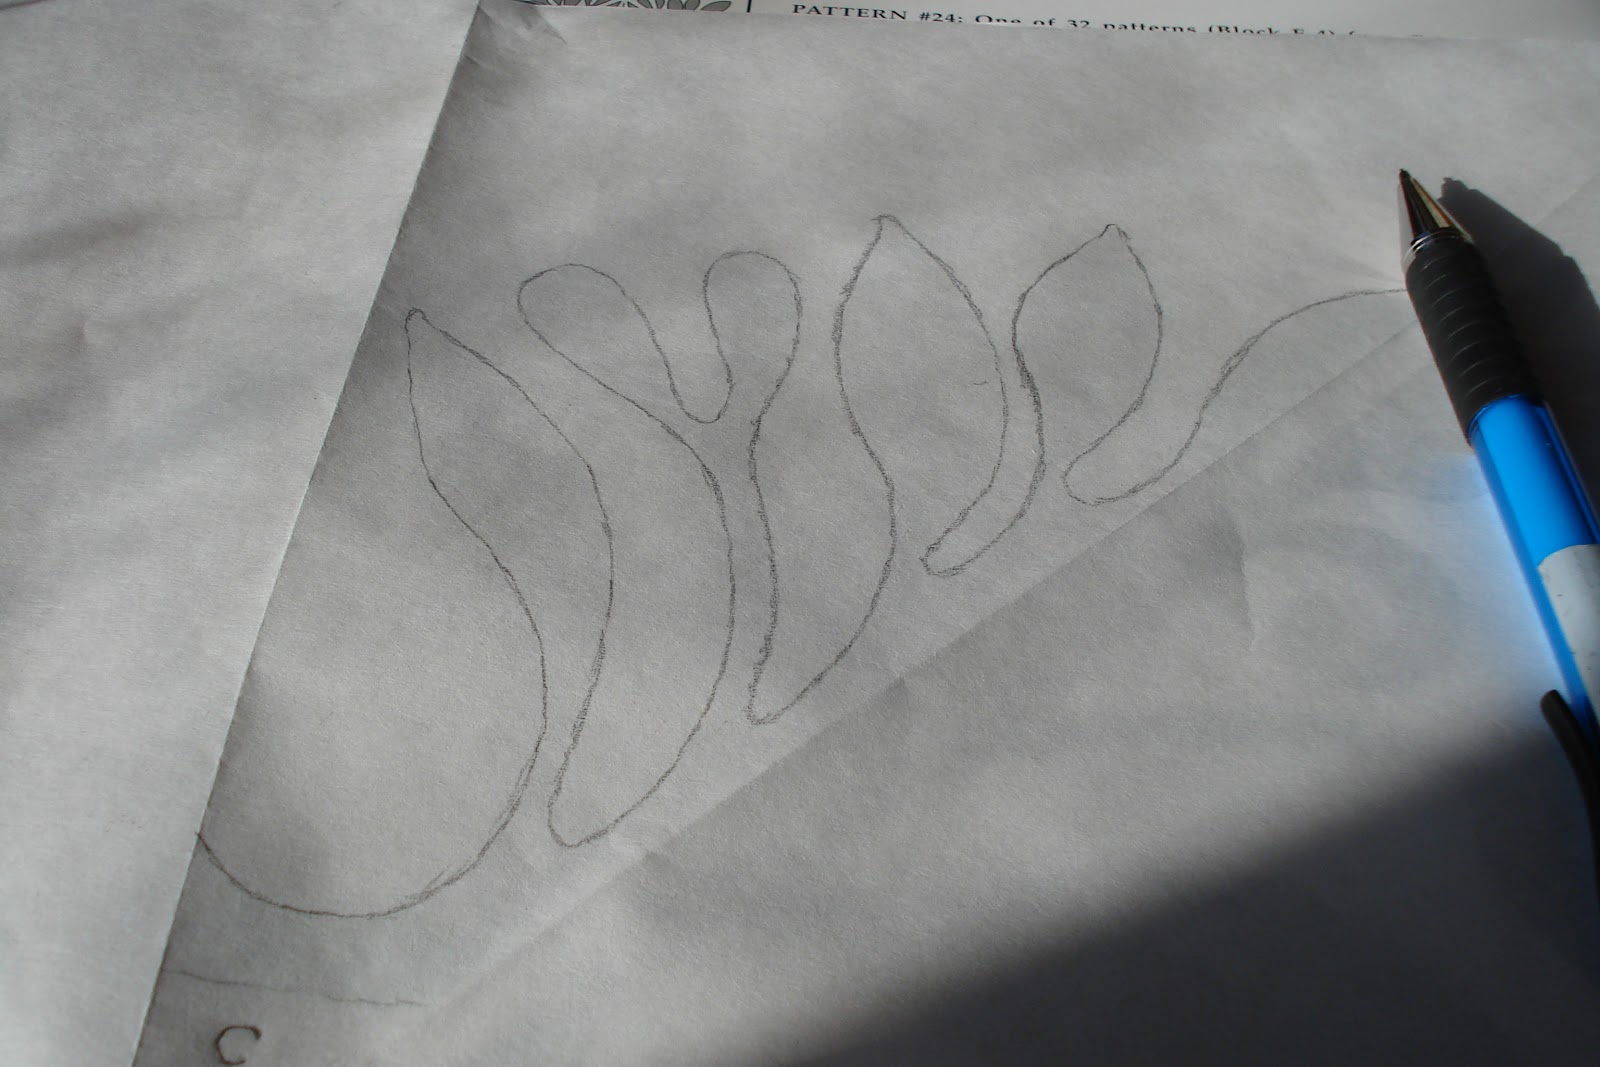
Then cut out the paper pattern - remove staples and unfold your papercut pattern...

For my applique fabric I chose some hand-dyed Kona Cotton pfd fabric - I dyed a lot of this at one point, especially greens, and still have quite a stash left! It is crumple dyed, which leads to interesting mottled effects. Carefully iron the freezer paper pattern onto the right side of your chosen fabric - flip over and iron from the back as well to make sure that the pattern is on securely...

Centre the applique fabric onto your background fabric and smooth out - then carefully pin the shapes. The fabric appears rumpled due to the number of pins - but will lie flat on the completion of the applique...


just sooo beautiful love that color green. for some reason I always seem to have trouble with the folding of the paper, this is a wonderful book maybe I need to get it out again
ReplyDeleteKathie
Gorgeous work.
ReplyDeleteQuite irrelevantly, I wanted to let you know that I have just finished my first Welsh wholecloth quilt, and it was inspired by a quilt I found in your blog, as well as the various lovely quilts you have here. There are more details at http://quilting.livejournal.com/1584475.html.
thanks for the demo... loving it.
ReplyDeleteAn excellent tutorial - thank you for the time and expertise you share with us!
ReplyDelete